Potatoes are one of the most versatile and satisfying vegetables to grow in your home garden. Whether you're a professional gardener or a newbie, growing your own potatoes is a rewarding experience that will provide you with a bountiful harvest of fresh, flavorful spuds. In this article, trendwizz.com will guide you through the process of successfully cultivating potatoes in your garden, from planting to harvesting.
Related Products You Might Like
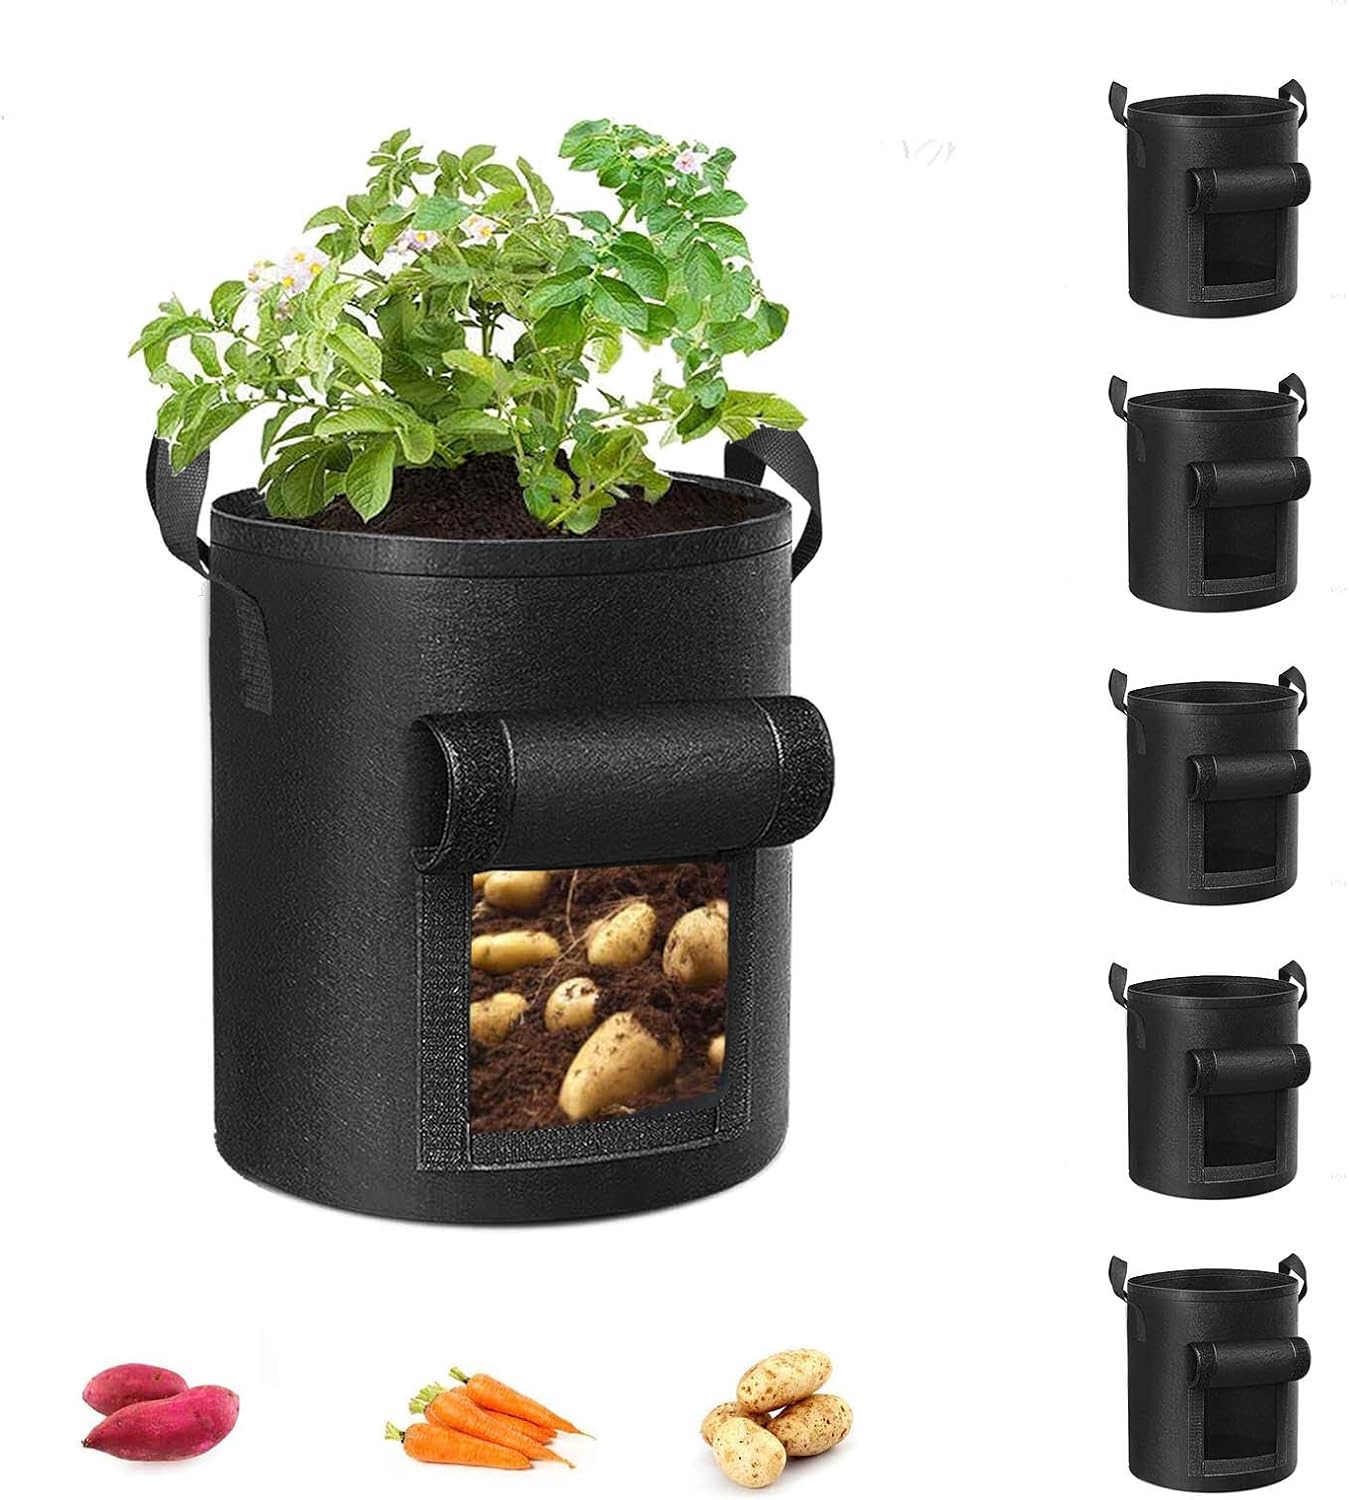
Potato Grow Bags
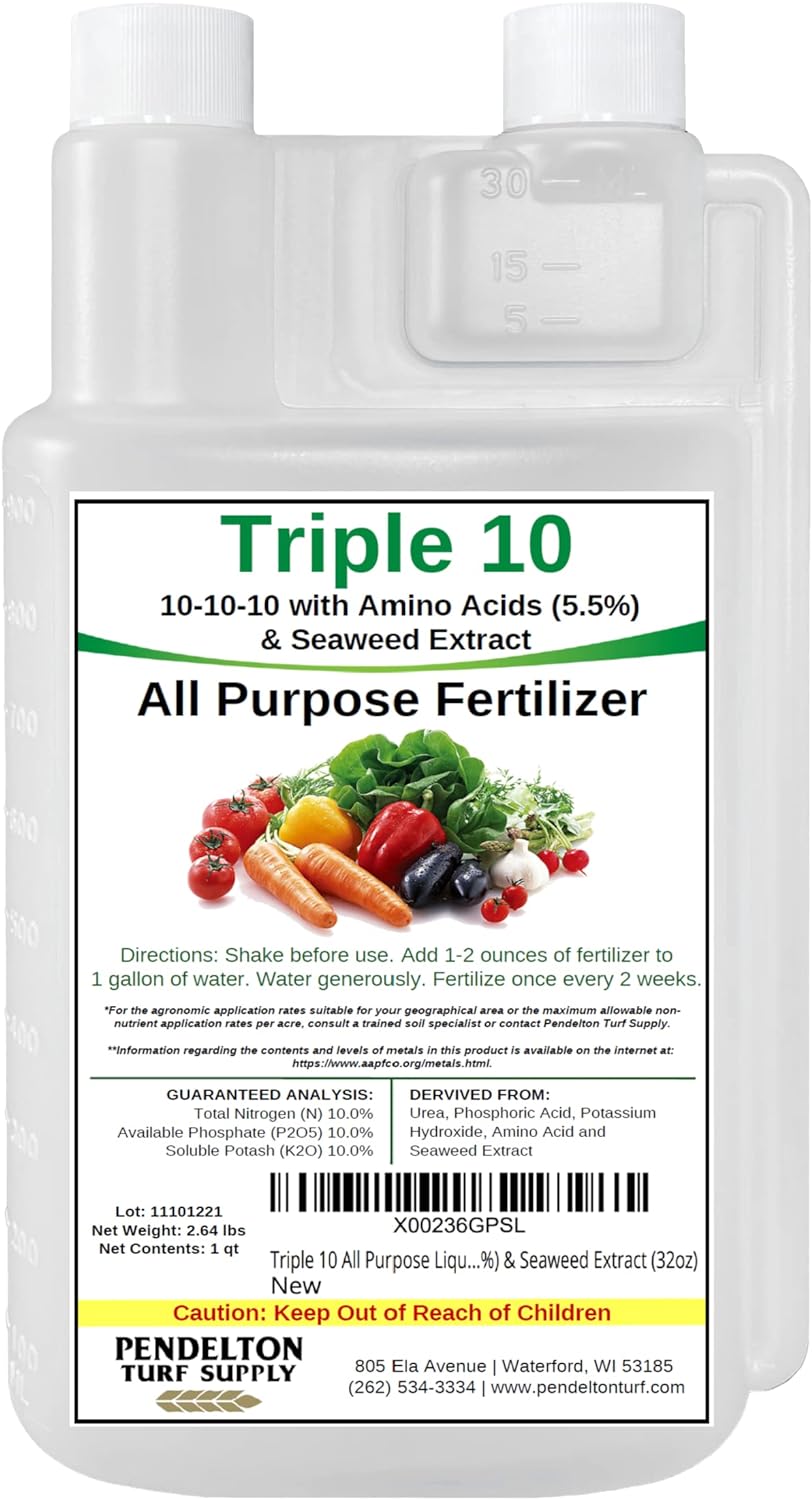
All Purpose Liquid Fertilizer
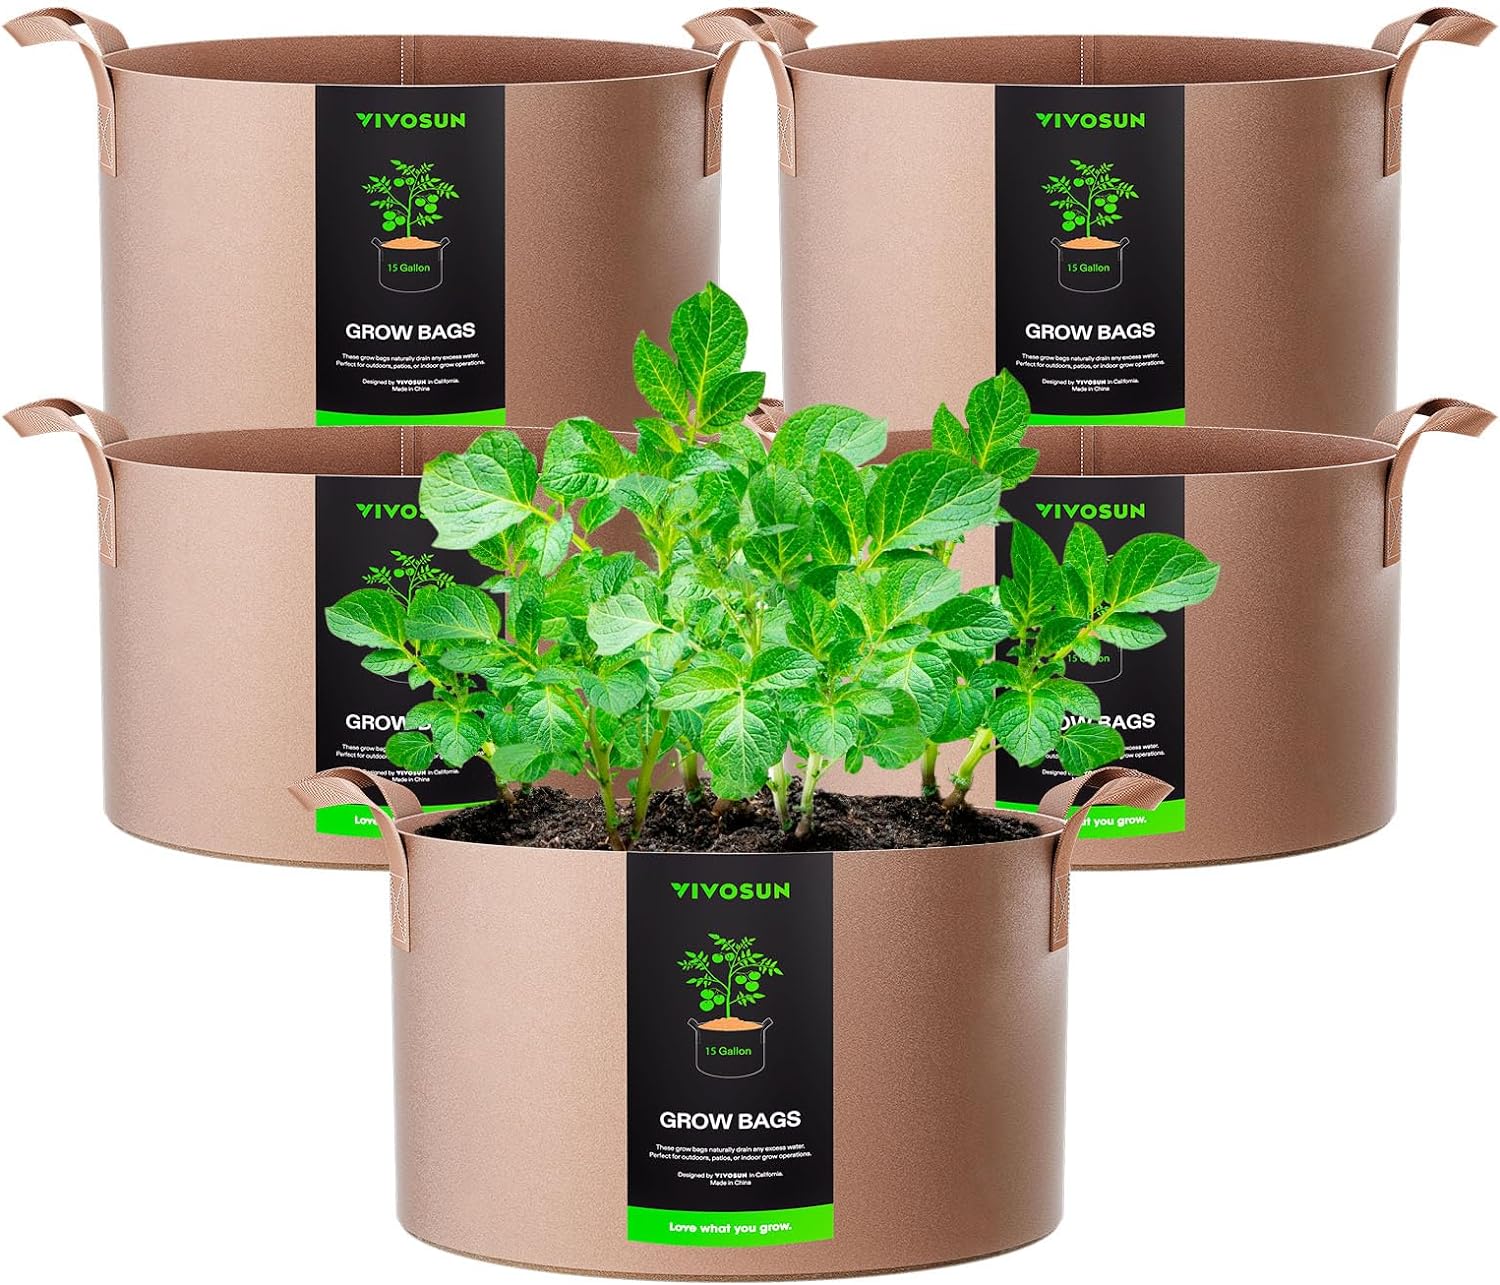
Fabric Pots
"(Paid Links)" 
Choosing the Right Variety
Before you begin, it's essential to select the right potato variety for your climate and growing conditions. Early-season varieties, such as Yukon Gold and Red Norland, are ideal for cooler regions as they mature faster, typically in 70 to 90 days. Late-season varieties like Russet Burbank and Katahdin thrive in warmer climates and take longer to mature, usually 90 to 120 days.
Soil Preparation
Potatoes thrive in loose, well-draining soil with a slightly acidic pH ranging from 5.0 to 6.5. Enhance soil structure and fertility by incorporating aged compost or well-rotted dung into your harvesting area. If your soil is dense or compacted, you may want to think about constructing raised beds or forming soil mounds in rows to improve drainage.
Planting and Hilling
Potatoes can be planted as soon as the ground is workable in early spring. Cut potatoes into pieces, ensuring each piece has at least two or three eyes (indentations where sprouts emerge). Plant the pieces about 12 inches apart and 3-4 inches deep, with the eyes of potato facing up.
As the plants grow, regularly "hill" them by mounding soil or compost around the base of the stems, leaving only the top few inches uncovered. This encourages the plants to produce more potatoes along the buried stems.
Caring for Your Potato
Plants Watering
Potatoes require consistent moisture, especially during the flowering and tuber formation stages. Make sure to water deeply once or twice a week, making sure that the soil stays consistently moist but not waterlogged. Try to prevent the foliage from getting wet, as this can encourage disease.
Fertilizing
Remember to fertilize your potato plants with a well-balanced, general-purpose fertilizer or compost tea every four to six weeks throughout the growing season. This will supply the essential nutrients needed for robust growth and a plentiful harvest.
Pest and Disease Management
Potatoes are sensitive to several pests and diseases, including Colorado potato beetles, early and late blight, and scab. Monitor your plants regularly and take action as soon as you notice any issues. Rotate your potato crop annually to different areas of your garden to help prevent soil-borne diseases.
Harvesting and Storing
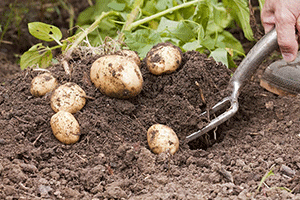
Harvesting your potato crop depends on the type of potato you are growing. Potatoes are usually ready to harvest when the plants start flowering and the foliage starts to wither, which is generally around 90 to 120 days after planting. Carefully use a garden fork to gently dig around the base of the plants, making sure not to harm the tubers.
Curing and Storing
After harvesting, allow the potatoes to cure in a cool, dark place for a week or two before storing them. This will help thicken the skins and extend their shelf life. Store cured potatoes in a cool, dark, well-ventilated area, like a root cellar or basement, where they can last for several months.
Conclusion
Growing potatoes in your garden is a rewarding experience that will provide you with a fresh, nutritious crop throughout the season. With proper planning and care, you can enjoy the satisfying taste of homegrown potatoes straight from your own backyard.

