Growing a plum tree from seed is a rewarding experience that allows you to enjoy fresh, homegrown fruit. While it requires patience and care, the process is straightforward and can be done at home. Here’s a step-by-step guide to help you grow a plum tree from seed.
Helpful Products You Might Like

FoxFarm Big Bloom Plant Food Liquid Fertilizer
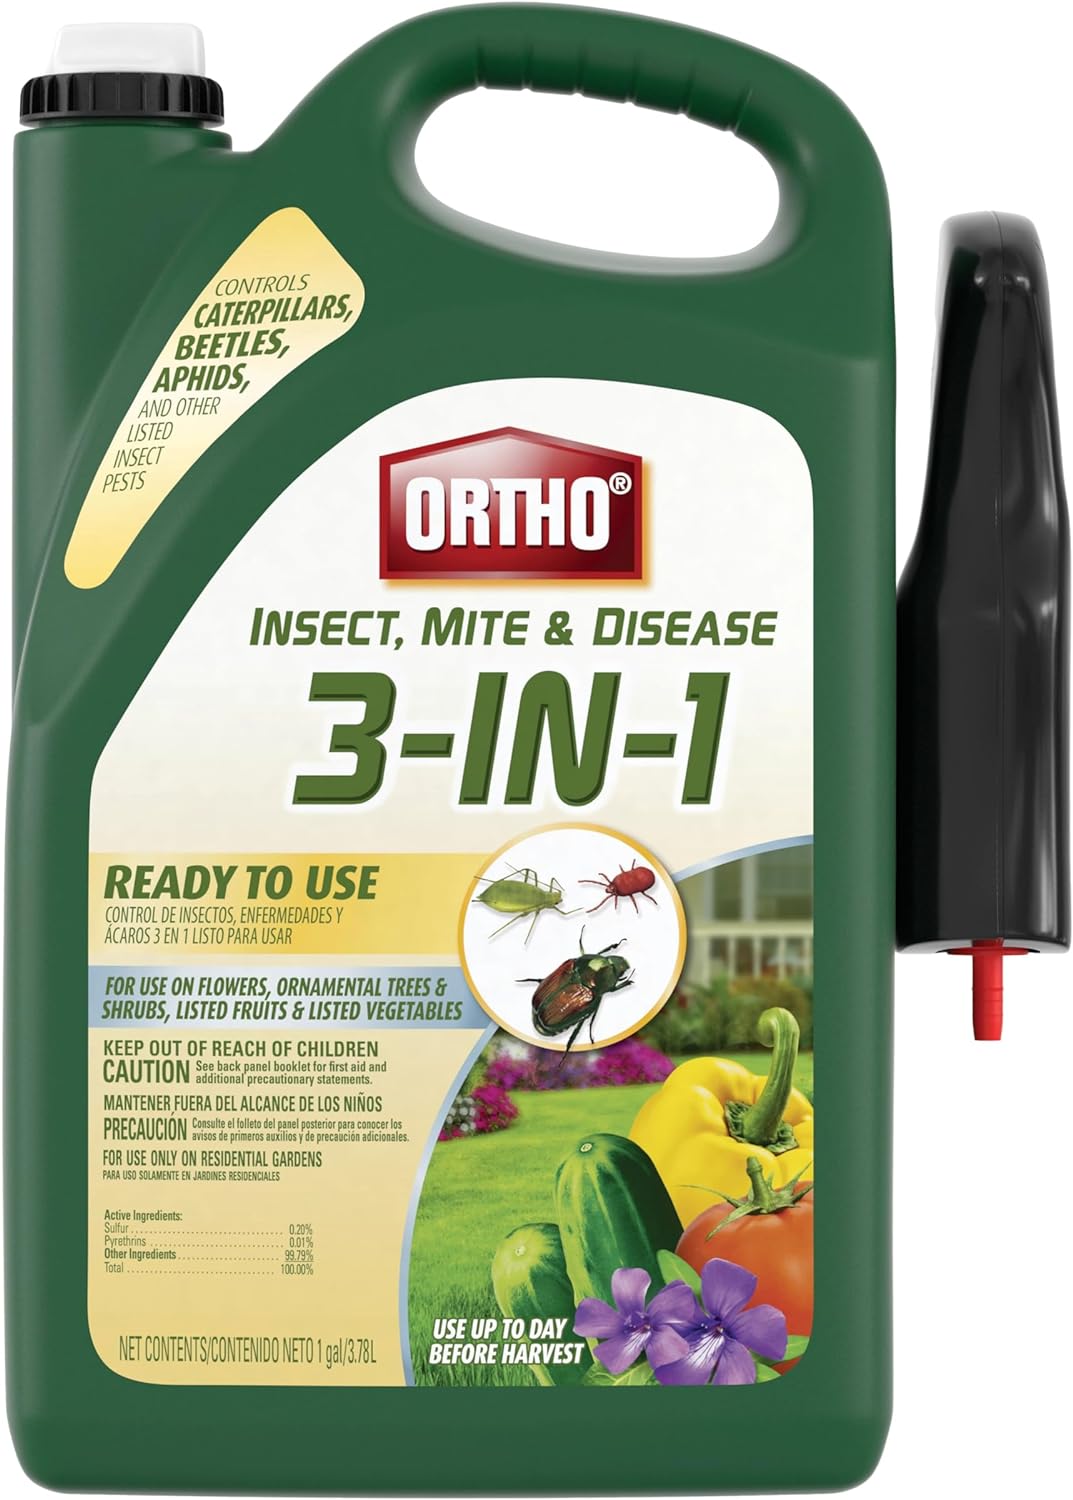
Ortho Insect Mite & Disease Treatment

Lawn and Garden Pump Pressured Sprayer
"(Paid Links)" 
Select a Ripe Plum
The first step is to choose a ripe plum from which to extract the seed. It’s best to use a locally grown or heirloom variety, as some commercial plums may not produce viable seeds due to hybridization. Once you have your plum, eat or remove the fruit, and save the pit.
Clean and Prepare the Seed
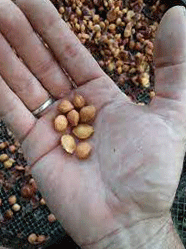
To prepare the seed, wash the pit thoroughly to remove any remaining fruit flesh. Allow the pit to dry for a few days in a cool, dry place. After it’s dry, gently crack the pit open using a nutcracker or hammer to reveal the seed inside. Be careful not to damage the seed during this process.
Stratify the Seed
Stratification is a cold treatment that mimics winter conditions, helping the seed break dormancy. To stratify the seed, place it in a damp paper towel and then in a plastic bag. Store the bag in the refrigerator for about 6-8 weeks. Check the seed periodically to ensure the paper towel remains damp but not soaked.
Plant the Seed
Once the stratification period is complete, it’s time to plant the seed. Choose a pot with good drainage and fill it with a well-draining potting mix. Plant the seed about 1-2 inches deep and water it thoroughly. Place the pot in a sunny location where it can receive at least 6 hours of sunlight daily.
Care for the Seedling
As the seed germinates and the seedling emerges, provide consistent care. Keep the soil moist but not waterlogged, and avoid letting it dry out completely. Once the seedling has a few sets of leaves, you can transplant it into a larger pot or directly into the ground, depending on your climate and the time of year.
Transplanting and Outdoor Care
When transplanting the seedling outdoors, choose a sunny spot with well-draining soil. Plum trees prefer slightly acidic to neutral soil. Dig a hole large enough to accommodate the root system and gently place the seedling in the hole. Backfill with soil and water thoroughly. Mulch around the base of the tree to retain moisture and suppress weeds.
Prune and Train the Tree
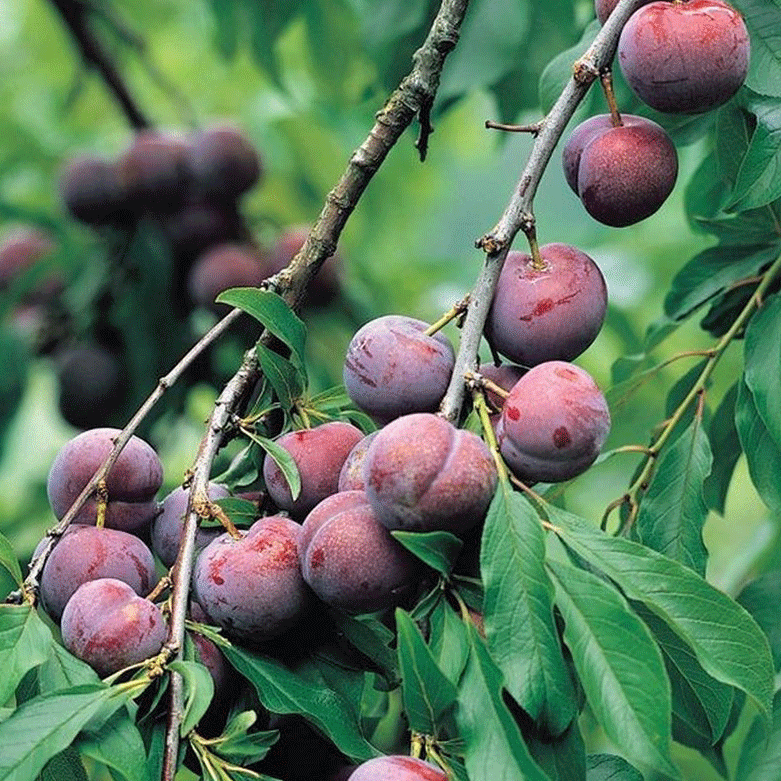
As your plum tree grows, it’s important to prune and train it to develop a strong structure. Pruning helps improve air circulation and sunlight penetration, reducing the risk of disease. Remove any dead or damaged branches, and prune to shape the tree as desired. Training the tree with stakes or supports can help it grow straight and sturdy.
Protect and Fertilize
Young plum trees are susceptible to pests and diseases. Keep an eye out for signs of trouble and address any issues promptly. Consider using organic or chemical-free pest control methods to protect your tree. Fertilize the tree with a balanced fertilizer in the spring and summer to support healthy growth and fruit production.
Conclusion
Growing a plum tree from seed is a long-term project that requires patience and dedication. By following these steps, you can nurture your seed into a thriving tree that produces delicious plums. While it may take several years for the tree to bear fruit, the reward of enjoying homegrown plums makes the effort worthwhile. With proper care and attention, your plum tree will flourish and provide fresh fruit for years to come.

