A zipper stuck on a coat, backpack, or sweater is always frustrating. It feels like you can do nothing except replace the zipper or buy a new item.
But buying a new item is not a good idea just because of a so-called stuck or broken zipper. If you often face this problem, then you are on the right page. Here are some best ways to help you learn how to fix every broken, Stuck, and Stubborn Zipper Ever.
Other Topics You Might Like
Helpful Products You Might Like
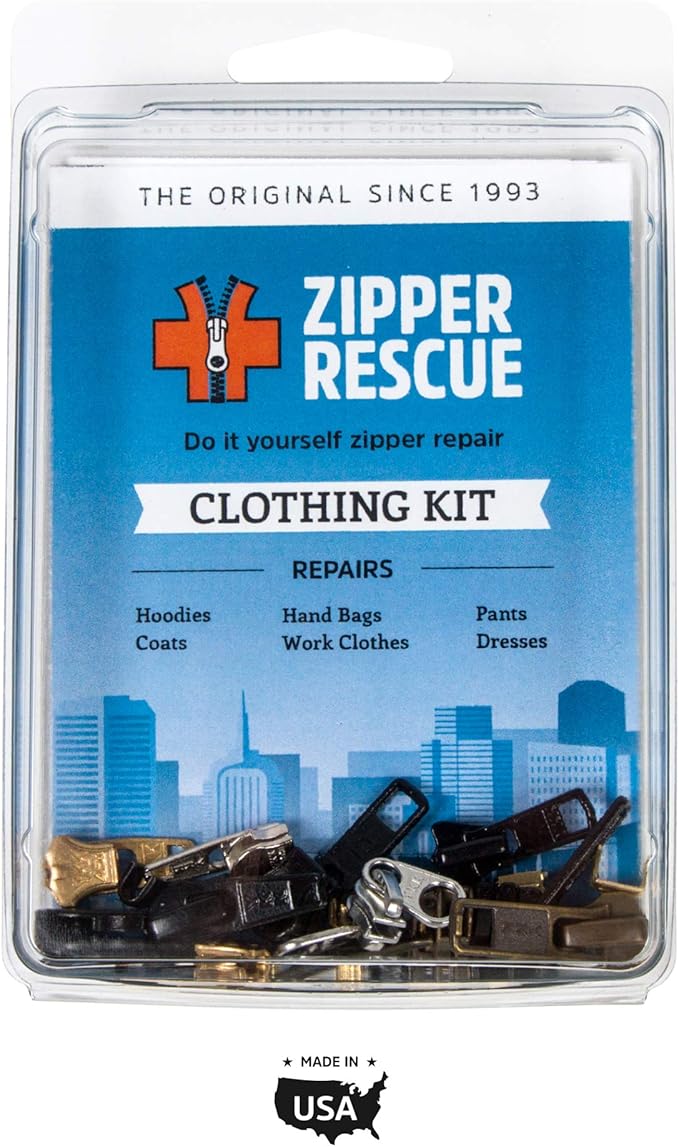
Zipper Rescue Zipper Repair Kits
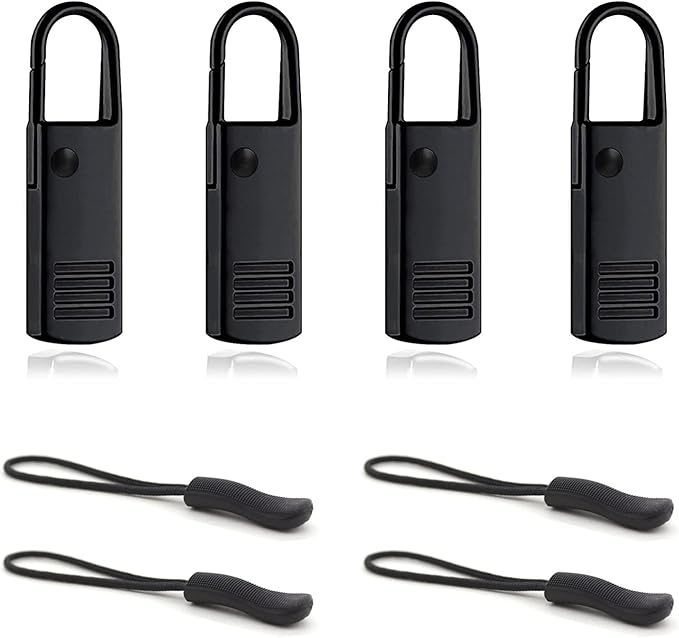
Zipper Pull Replacement Premium Zipper
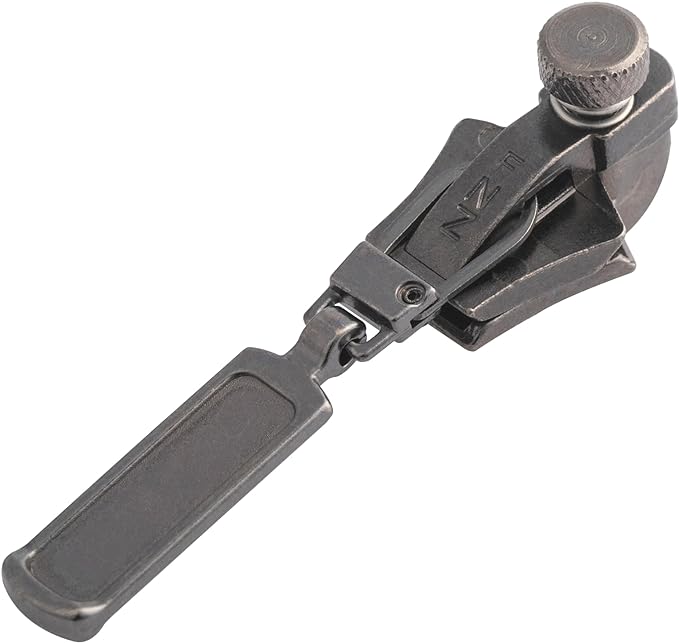
FixnZip Zipper Repair Kit
"(Paid Links)" 
How to Unjam a Stuck Zipper
If the slider is stuck and you can’t move it in any direction, the solution depends on why it is stuck. Follow these steps to fix it.
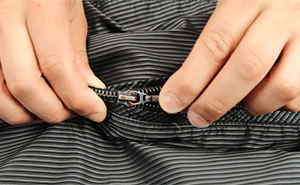
Investigate
Turn the clothing or bag inside out and follow along the zipper lines to see if there’s a catch anywhere
Release stuck fabric
Grasp any fabric stuck in the teeth and gently pull it out, tugging away from the zipper. For smaller jobs, you can use tweezers.
Remove any other obstructions
If there’s no caught fabric, look closer at the teeth and clear out any other obstructions like threads, lint, or dirt.
Dust and grime build up with time can lead to zipper entanglement, particularly in the case of older items. To resolve this, Remove any obstructions from the zipper teeth using a lubricant such as oil, graphite, or bar soap. It's important to avoid getting the lubricant on the fabric, as it may cause staining or discoloration. For messier substances like Vaseline or olive oil, use tools like a cotton swab to apply them. If the fabric does get stained with the lubricant, initiate the cleaning process as soon as possible.
How to Fix Zipper Teeth That Keep Popping Open
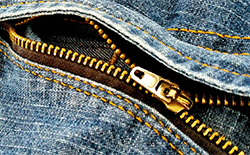
Zipper teeth are supposed to merge neatly, completely sealing any fabric openings. But sometimes those teeth get out of alignment and create gaps. This is most often caused by a loose slider. A zipper slider is the mechanism under the pull that brings the two sets of teeth together. Wear and tear can bend the inner parts of a slider, making it ineffective.
Examine
Take a look at the slider to see if it looks misshapen.
Reshape the slider
Use needle nose pliers to gently crimp the slider until it is back to roughly the original size.
Make each side even
Test each side of the slider with your fingers and make minor adjustments as needed until both sides are even.
How to Replace a Broken Zipper Slider
If your attempt to repair the slider doesn’t work, it’s time to replace it. This is surprisingly simple as long as you have the right tools and the patience to research beforehand.
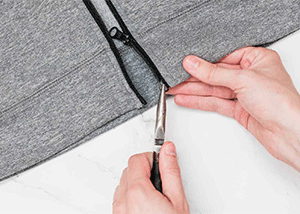
Buy a replacement slider.
Look at the back of your original slider for a stamped number. If it’s there, buy a new zipper with the same number.
If the back of your slider doesn't have a stamped number, take it with you when you visit the sewing supplies store. This way, you can compare it with other sliders at the store and choose the one you need. Sliders and top stops, the metal part at the bottom of the zipper that keeps the slider from running off the tracks, can be purchased together.
There are all different kinds of replacement zippers, but this universal kit is excellent if you’re not sure exactly what you need.
Then, follow these steps.
Remove the “top stop.”
Use pliers to remove the existing “top stop” from your garment and move the slider up and off the zipper. If your slider is stuck in the “locked” position, use something small like a paper clip to stick under the pull tap loop and pop the lock open to remove the slider.
Slip the new slider in place
Feed the new slider onto the teeth, starting at the point where you removed the top stop.
Replace the top stop
Using pliers, replace the top stop you removed with the new one with your slider.
