Regular maintenance of your coffee maker is crucial for ensuring great-tasting coffee and extending the machine's lifespan. Over time, mineral deposits from water and coffee oils can build up inside your coffee maker, affecting its performance and the flavor of your coffee. Here’s a simple guide on how to clean and descale your coffee maker, keeping it in top condition.
Helpful Products You Might Like
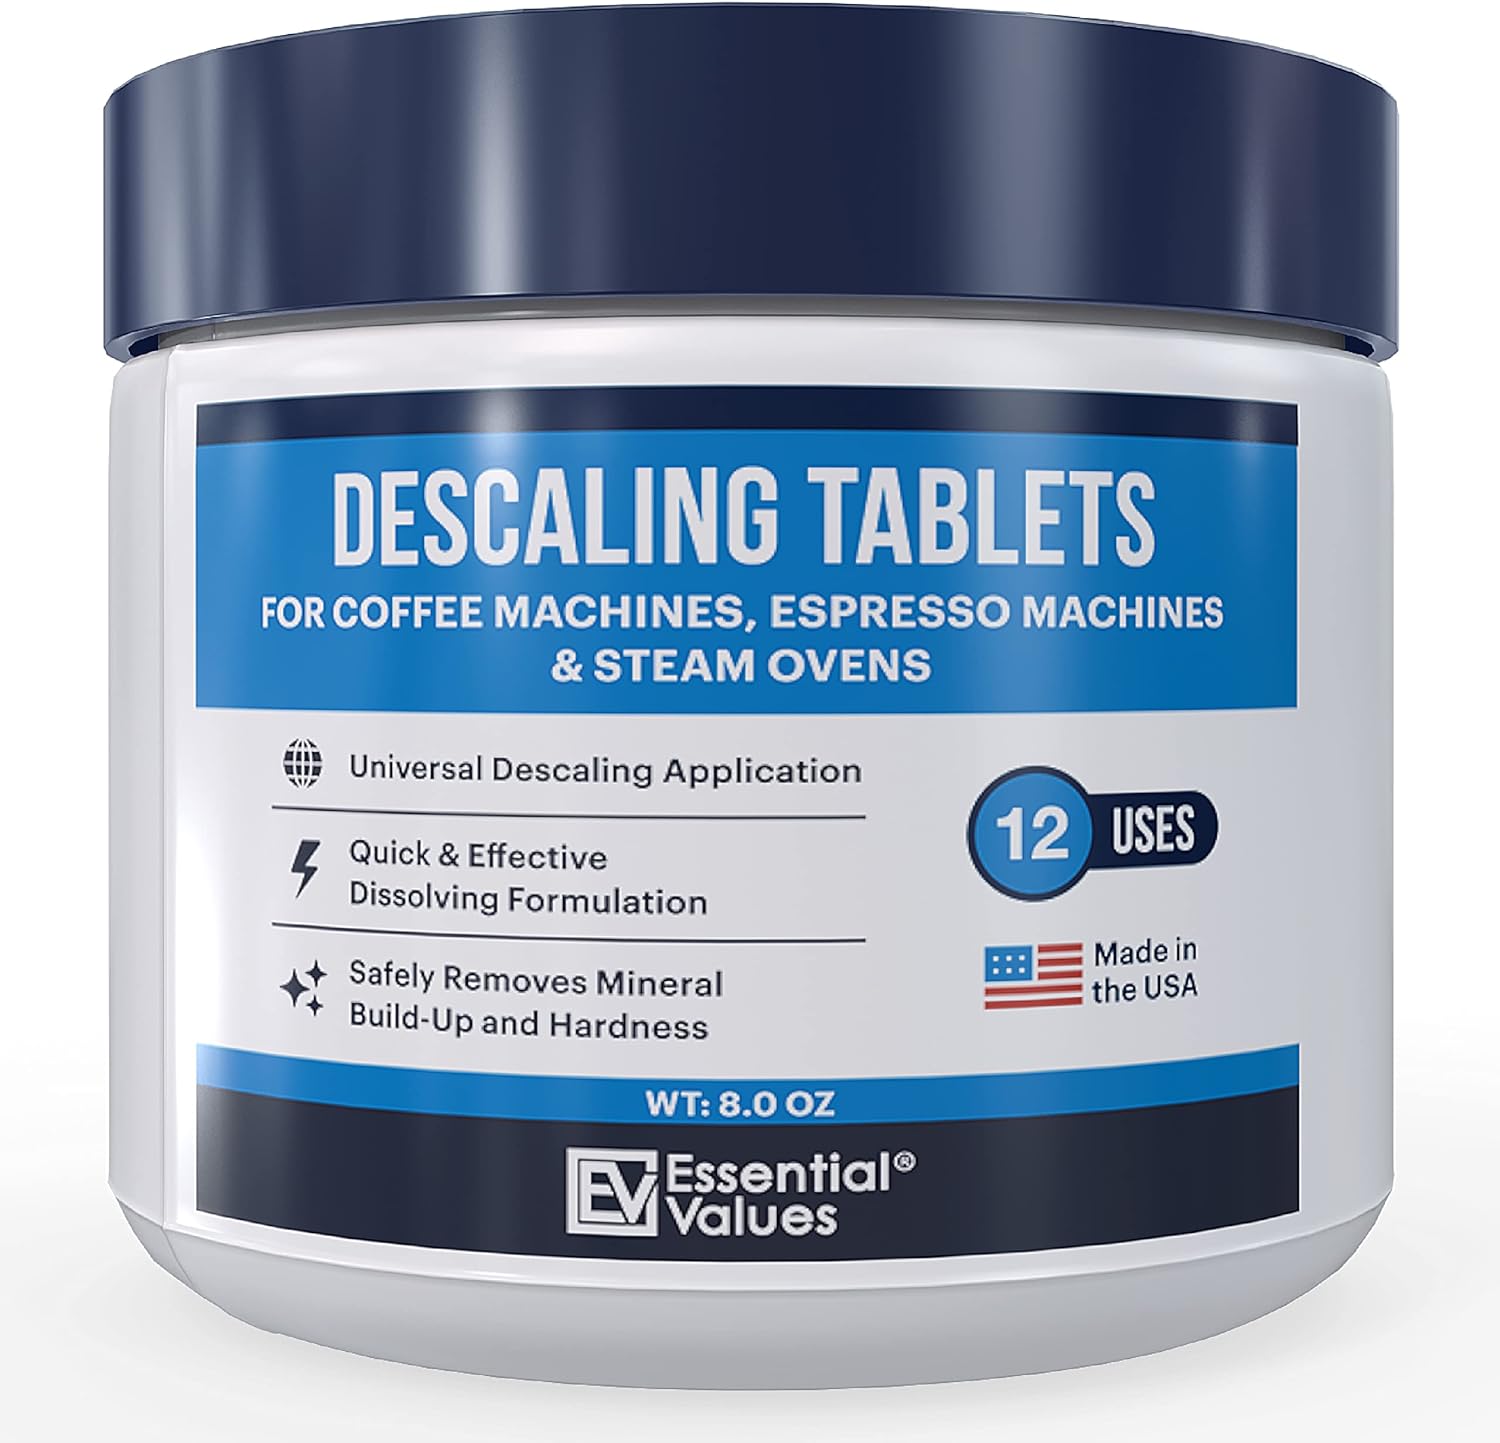
Coffee Cleaner Descaling Tablets
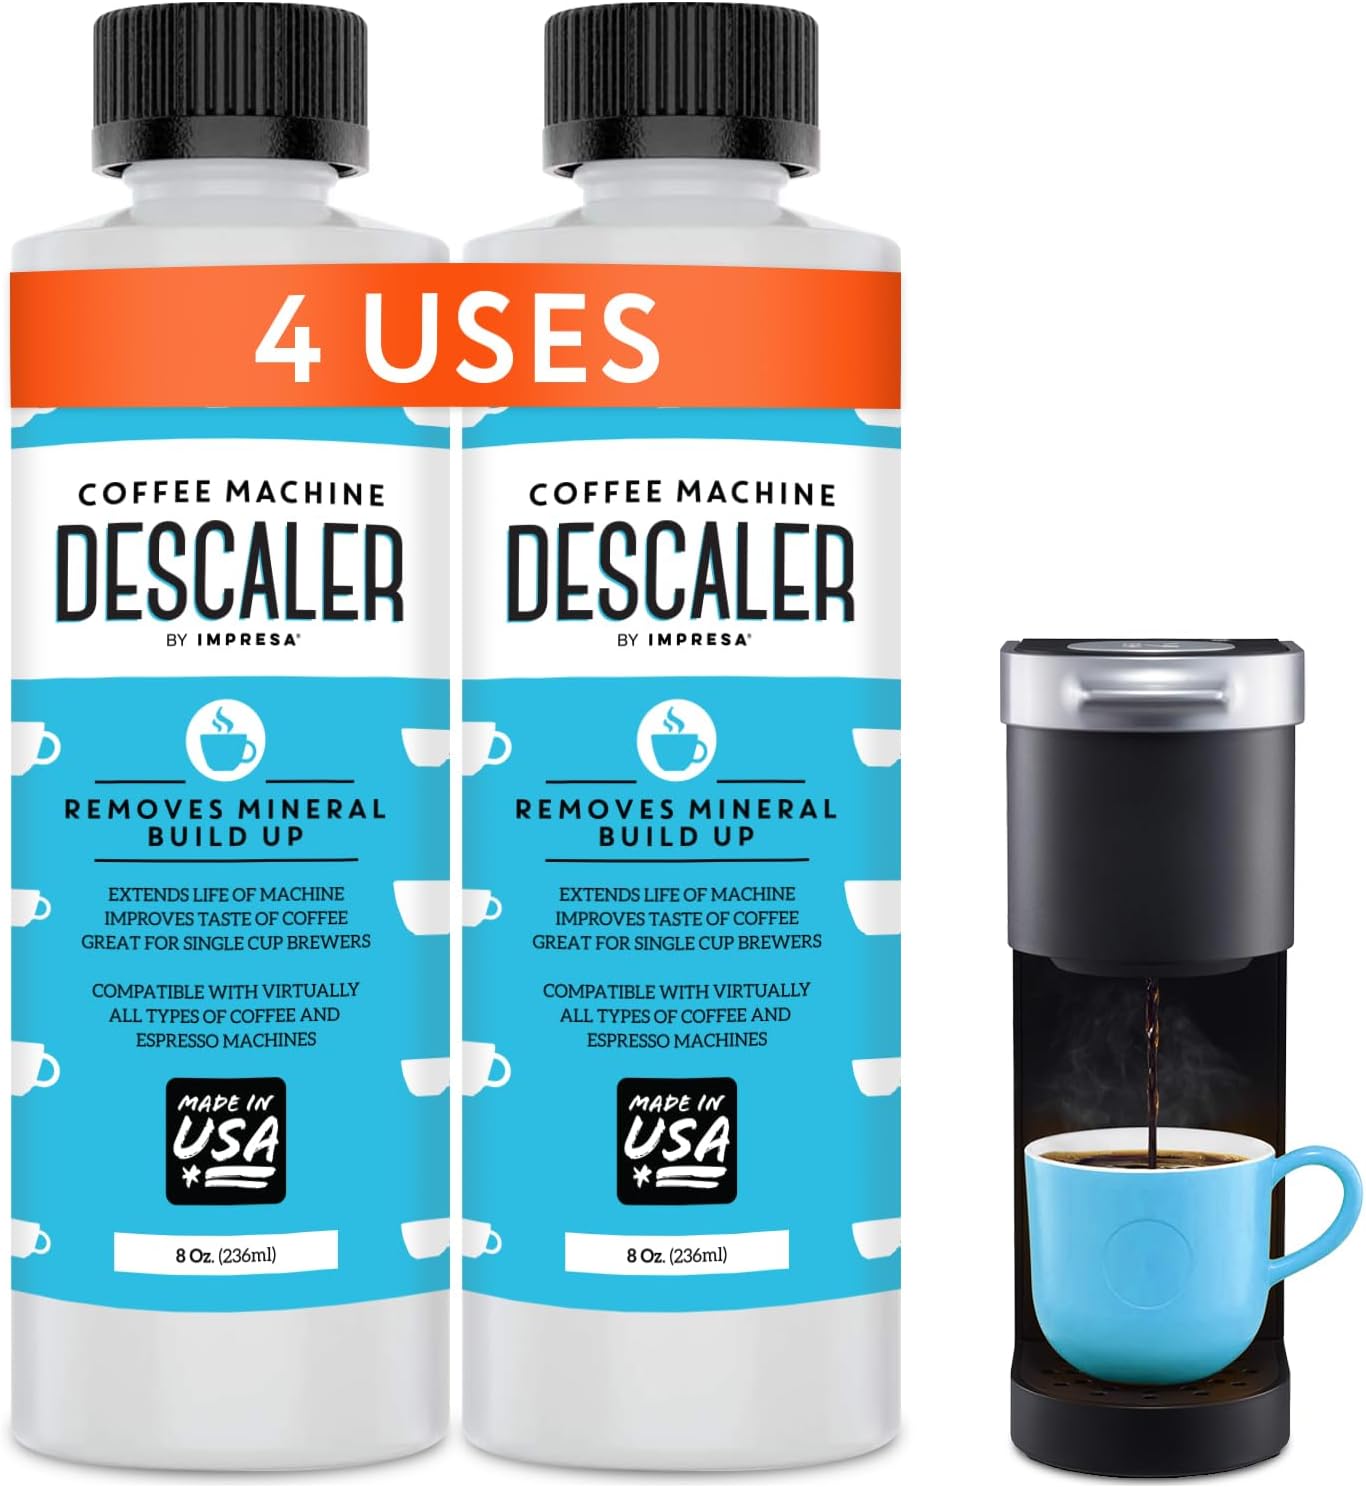
Universal Descaling Solution for Keurig

Quick & Clean Keurig Cleaning Pods
"(Paid Links)" 
Clean Removable Parts
Begin by unplugging the coffee maker and removing any removable parts, such as the carafe, filter basket, and reusable filters. Wash these parts with warm, soapy water, using a sponge or cloth to scrub away any coffee residue. A toothbrush can be helpful for cleaning small, hard-to-reach areas. Rinse everything thoroughly and allow it to air dry.
Clean the Coffee Maker’s Exterior
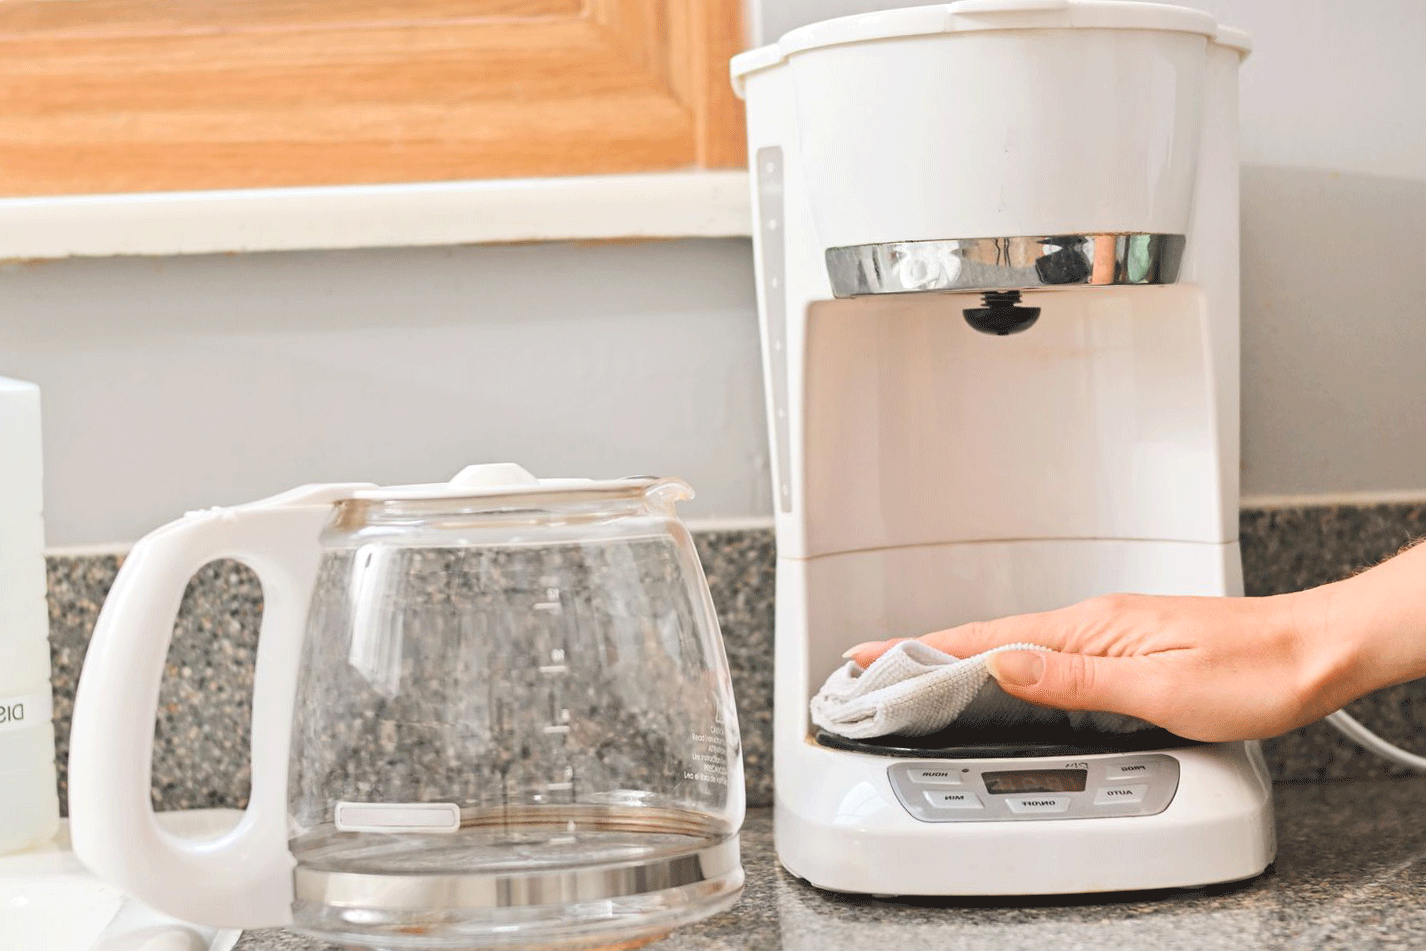
Wipe down the exterior of the coffee maker with a damp cloth. For stubborn stains or spots, use a bit of dish soap on the cloth, then wipe with a clean, damp cloth to remove any soap residue. Be sure to clean around the control panel and other areas where coffee splatters may accumulate.
Descale the Coffee Maker
Descaling is an important process that removes mineral buildup inside the coffee maker. To descale using white vinegar, fill the water reservoir with equal parts white vinegar and water. If you’re using a commercial descaling solution, follow the manufacturer’s instructions on dilution and use.
Place a clean filter in the basket and start a brew cycle. Allow the solution to run through the machine until the carafe is half full, then turn off the coffee maker and let it sit for 30 minutes. This soaking period helps to dissolve any mineral deposits. After the wait, resume the brew cycle to complete the process.
Rinse the Coffee Maker
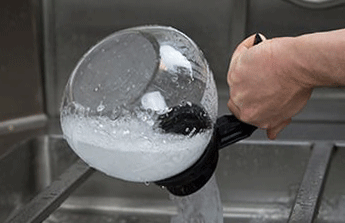
After descaling, it’s important to rinse the coffee maker thoroughly to remove any vinegar or descaling solution. Fill the water reservoir with fresh water and run at least two complete brewing cycles. This ensures that any remaining solution is completely flushed out, preventing any off flavors in your coffee.
Final Cleaning and Drying
Once the rinsing is complete, clean the carafe and other removable parts again to remove any lingering residue. Wipe down the exterior and any exposed surfaces. Allow all parts to dry completely before reassembling the coffee maker.
Tips for Maintaining Your Coffee Maker
Regular Cleaning:
Clean your coffee maker once a month if you use it daily, or more frequently if you have hard water, which can accelerate mineral buildup.
Use Filtered Water:
Using filtered water can reduce the amount of mineral deposits and improve the taste of your coffee.
Routine Maintenance:
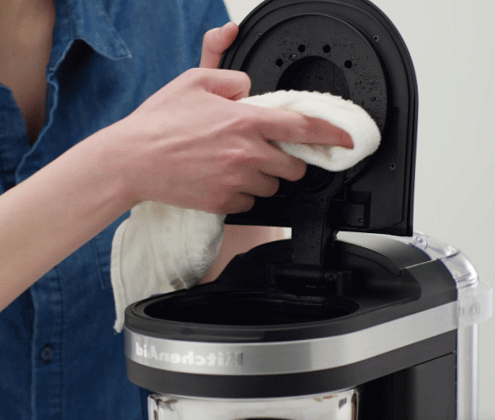
Regularly check and clean any components like the spray head or drip area, as these can also collect debris over time.
By following these steps, you can keep your coffee maker clean and in good working order, ensuring that every cup of coffee you brew is as delicious as possible. Regular maintenance not only improves the taste of your coffee but also extends the life of your machine.

