Rim damage is the common nightmare for many vehicle owners. Damaged rims, whether it occurred due to a close encounter with a curb or accidental scratches, can impact your vehicle's overall appearance. If not addressed promptly, these issues may escalate into more serious problems.
Other Topics You Might Like
Helpful Products You Might Like
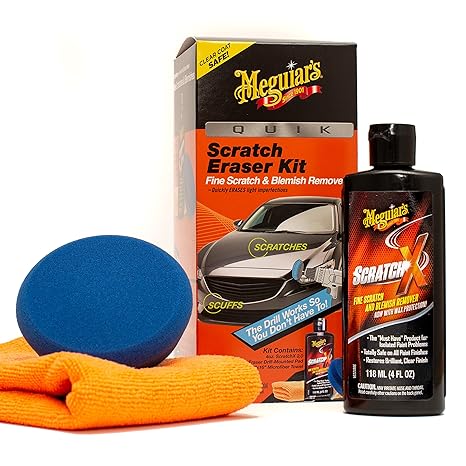
Meguiar's Scratch Remover
Kit
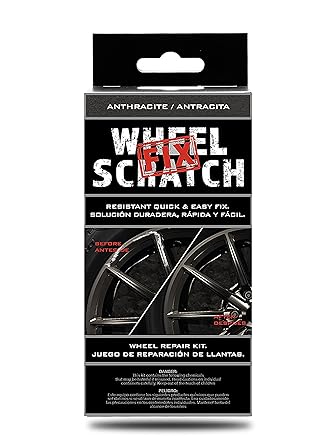
Wheel Scratch Repair Kit
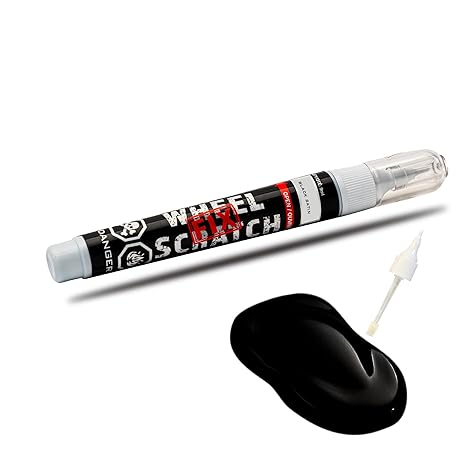
Wheel Scratch Touch Up Kit
"(Paid Links)" 
Understanding Rim Damage
Curb Rash
When a rim comes into contact with a curb, resulting in scuffs and scratches along the edge, it is known as curb rash. This damage is not concerning until underlying metal is gouged or chipped. The extent of curb rash can vary from minor abrasions to severe damage.
Scratches
Rim scratches occur from various sources, including sharp objects, road debris, or even improper cleaning tools. These scratches can be shallow or deep, affecting the appearance and potentially the rim's structural integrity.
Steps to Repair Rims
Assess the Damage
Before starting any repairs, inspect the damaged area carefully. inspect the depth and extent of the scratches or curb rash. It will help you decide the appropriate repair method and whether you need to address structural or cosmetic issues.
Clean the Rim
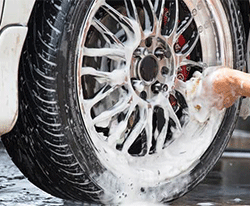
A clean space is essential to get a successful repair. Wash the rim with soap and water to remove dirt, grease, and brake dust. It is best to use a non-abrasive cleaner to prevent your vehicle from more scratches during cleaning. After cleaning, dry the rim completely with a microfiber cloth.
Sand the Damaged Area
To repair curb rash or scratches
Apply a Primer
Apply a primer on the rim made of metal or alloy. It is essential to ensure good adhesion of the repair materials. Always choose a primer suitable for metal surfaces and apply it to the sanded area. Allow the primer to dry according to the manufacturer’s instructions. It will help you to fill in any minor imperfections and creates a smooth base for painting.
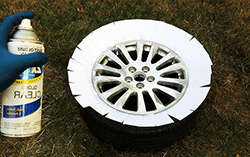
Paint the Rim
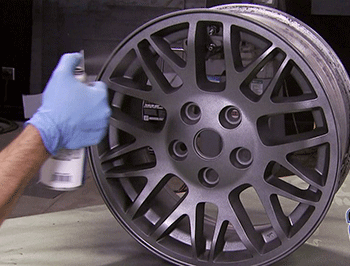
After drying the primer, apply paint. Use the paint that matches the color of your rim. Apply the paint in thin, even layers, dry each layer before applying the next. It helps to achieve a uniform finish and prevents drips or runs.
Clear Coat for Protection
A clear coat is essential to protect the newly painted area and give it a glossy finish. After the paint has dried, apply a clear coat in thin, even layers and allow it to dry completely. This step provides a protective barrier against future damage and enhances the appearance of the rim.
Polish and Buff
Use a fine polishing product to buff the repaired area after drying the coat. It will bring back the rim's sheen and helps the restored area mix in with the rest of it. For optimal effects, use a polishing pad or a microfiber cloth. To prevent scratching the recently painted surface, use gentleness.
Reinstall the Rim
After repairing, put the rim back on your car. Make sure it is fastened and positioned correctly. Before you drive, make sure there are no discrepancies or necessary touch-ups.
Conclusion
It takes time and careful attention to repair rims that have scratches or curb rash. You can successfully restore their appearance if you use the appropriate instruments and methods. You can get a professional-looking repair that improves the overall appearance of your car by following these steps: evaluating the damage, applying a clear coat, cleaning, sanding, priming, painting,and polishing.
