A Beauty blender is an essential tool for many makeup enthusiasts, offering a seamless and flawless finish to makeup application. However, like any other makeup tool, it requires regular cleaning to maintain its effectiveness and hygiene. Without proper cleaning, Beauty blenders can become breeding grounds for bacteria, oil, and makeup residue, potentially leading to skin issues. Here's a comprehensive guide on how to clean your Beauty blender and keep it in top condition.
Other Topics You Might Like
Helpful Products You Might Like
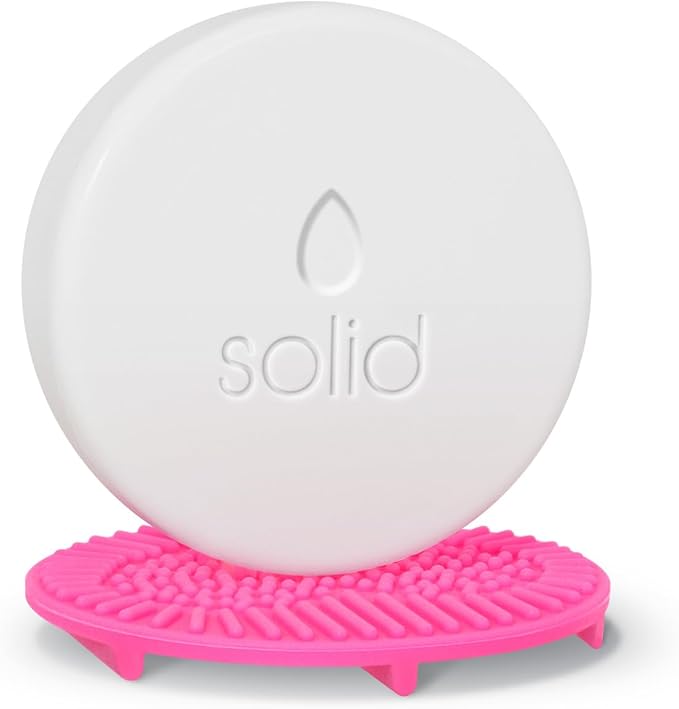
Beautyblender Solid Lavender Makeup Sponge & Brush Cleanser
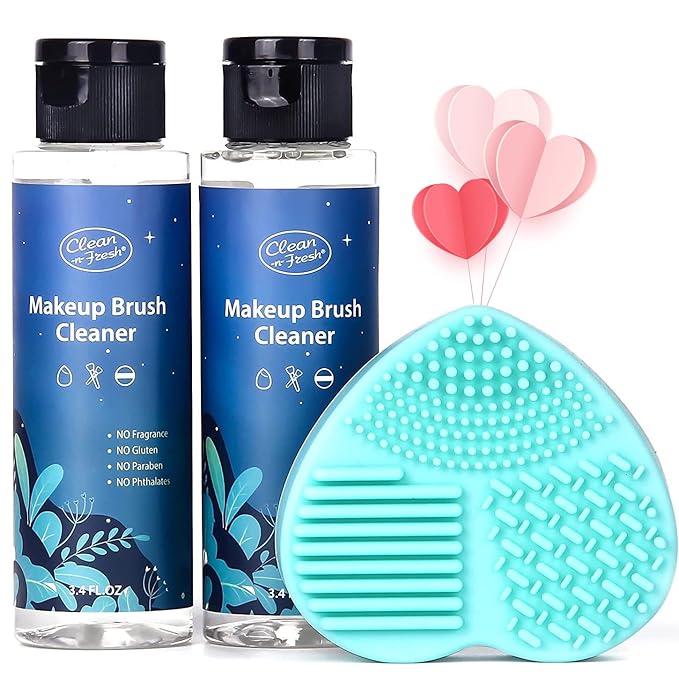
Clean-n-Fresh Makeup Brush Cleaner
Set
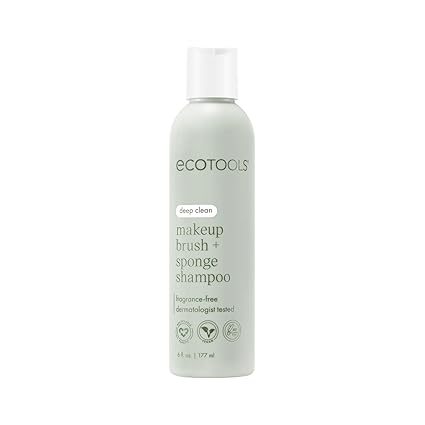
EcoTools Cleanser Shampoo for Makeup Brush & Sponge
"(Paid Links)" 
Why Cleaning Is Important
Makeup sponges, such as Beautyblenders, are porous and can easily absorb oils, makeup, and bacteria from your skin. This buildup not only affects the performance of the sponge, making it less effective at applying makeup, but can also lead to skin problems like acne, rashes, or infections. Regular cleaning helps prevent these issues, ensuring that the sponge remains hygienic and continues to deliver a smooth, even application of makeup.
Furthermore, a clean Beautyblender allows for better blending and application of products, ensuring that makeup goes on smoothly and evenly. A dirty sponge can cause streaks, uneven application, and even discoloration of makeup products. Therefore, maintaining a clean Beautyblender is crucial for both your skin's health and the quality of your makeup application.
Materials Needed
To clean your Beautyblender, you will need
Gentle liquid soap
Gentle liquid soap or a specialized sponge cleanser: These are formulated to remove makeup and oil without damaging the sponge.
Water
Warm water is ideal for loosening makeup and grime.
A clean towel
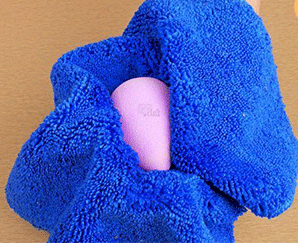
For drying the sponge after cleaning.
It's important to avoid using harsh detergents or cleansers with strong chemicals, as these can degrade the sponge's material and reduce its lifespan. Similarly, avoid using hot water, as it can damage the sponge's structure.
Step 1
Wet the Beauty Blender
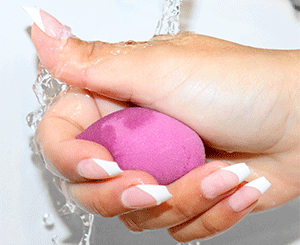
Begin by thoroughly wetting your Beauty blender under warm running water. Squeeze the sponge gently to allow it to absorb the water and expand. This step is crucial because a wet sponge is less likely to absorb makeup, allowing for a more even application. Additionally, wetting the sponge helps loosen any dried makeup, making it easier to clean.
Step 2
Apply Cleanser
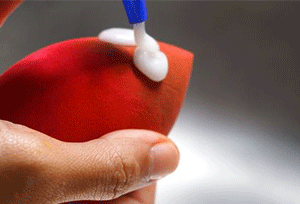
Apply a small amount of liquid soap or a specialized sponge cleanser directly onto the Beauty blender. If you don't have a specialized cleanser, you can use a gentle, fragrance-free facial cleanser as an alternative. Avoid using soaps with harsh chemicals or strong fragrances, as these can irritate the skin and damage the sponge.
Step 3
Lather and Rinse
After applying the cleanser, continue to massage the sponge to create a lather. The lather helps lift makeup and dirt from the sponge. Rinse the Beautyblender under warm water, squeezing it repeatedly to remove the soap and makeup residue. It's important to rinse thoroughly until the water runs clear, indicating that all the makeup and soap have been removed.
Repeat the process of lathering and rinsing if necessary, especially if the sponge is heavily soiled. Ensure that no soap residue remains, as this can irritate the skin during makeup application.
Step 4
Deep Clean (Optional)
For a deeper clean, you can soak your Beautyblender in a bowl of warm water with a few drops of soap for 10-15 minutes. This soaking process helps break down stubborn makeup and oil that may have settled deep within the sponge. After soaking, rinse the sponge thoroughly under warm water, squeezing out the water until it runs clear.
Deep cleaning is especially useful for sponges that haven't been cleaned regularly or have visible buildup. However, avoid leaving the sponge soaking for too long, as prolonged exposure to water can weaken the sponge's structure.
Step 5
Dry the Beauty Blender
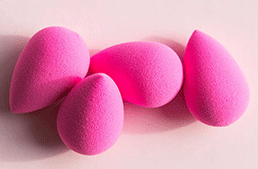
Once your Beautyblender is clean, gently squeeze out any excess water without twisting or wringing the sponge, as this can damage its delicate structure. Pat the sponge with a clean towel to remove additional moisture.
Allow the Beautyblender to air dry in a well-ventilated area. It's important not to store the sponge in a closed container while it is still wet, as this can create a breeding ground for mold and bacteria. A clean, dry sponge is essential for maintaining hygiene and ensuring the longevity of your Beautyblender.
Regular Maintenance
To keep your Beautyblender in the best condition, clean it after each use. This prevents the buildup of makeup and bacteria, ensuring that the sponge remains hygienic and effective. If you use your sponge daily, aim to deep clean it at least once a week.
Additionally, it's recommended to replace your Beautyblender every 3-6 months, depending on how frequently you use it and how well you maintain it. Over time, sponges can degrade, becoming less effective and more prone to harboring bacteria.
Tips for Maintaining Your Beautyblender
Avoid sharing your Beautyblender
Avoid sharing your Beautyblender with others as this can transfer bacteria and increase the risk of infections.
Store your Beautyblender in a breathable case
Store your Beautyblender in a breathable case or container to keep it clean and dry.
Avoid using your Beautyblender for applying products with strong dyes or chemicals
Avoid using your Beautyblender for applying products with strong dyes or chemicals, as these can stain or damage the sponge.
By following these steps and maintaining a regular cleaning routine, you can ensure that your Beautyblender stays clean, hygienic, and ready for flawless makeup application.
