Water damage can be devastating for a laptop, leading to potential data loss and costly repairs. However, if you act quickly, there’s a chance to salvage your device. Here’s a step-by-step guide on how to address water damage effectively.
Other Topics You Might Like
Helpful Products You Might Like

AquaQuest Storm Laptop Sleeve Waterproof Bag
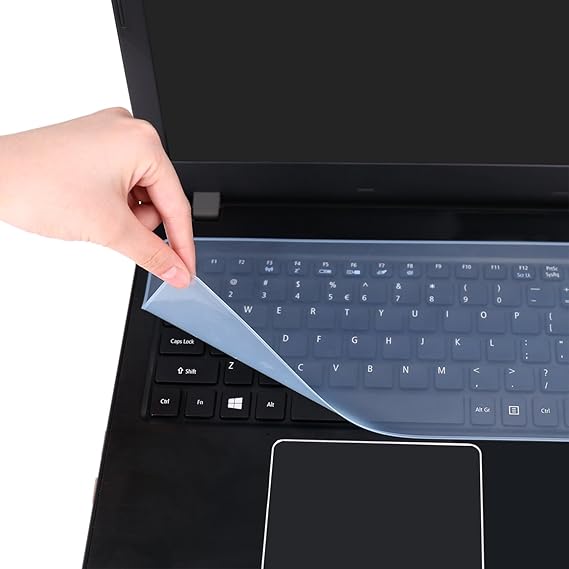
Universal Keyboard Cover for Laptop
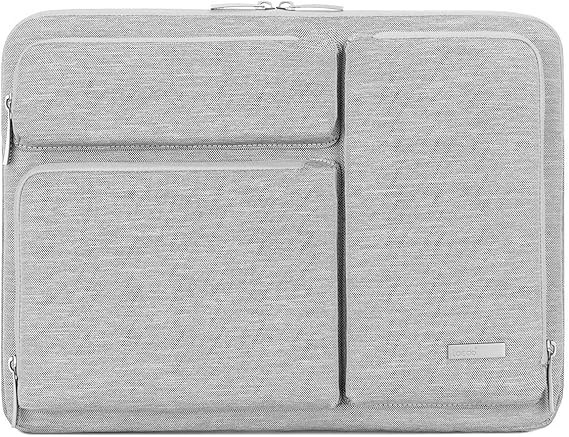
Lacdo Protective Laptop Sleeve
"(Paid Links)" 
Power Off Immediately
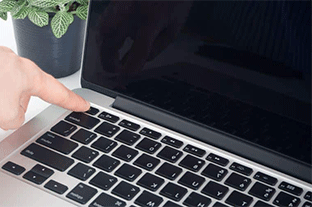
The first and most crucial step is to turn off your laptop immediately. If it's still running, hold down the power button until it shuts off. This minimizes the risk of short circuits that can occur when water comes into contact with the internal components.
Unplug and Remove Peripherals
Once the laptop is off, unplug it from any power source. Remove all peripherals, including external drives, USB devices, and any connected hardware. This will help prevent further damage and allows you to focus solely on the laptop itself.
Remove the Battery
If your laptop has a removable battery, take it out. This step is essential to cut off any power supply and prevent additional electrical damage. For laptops with non-removable batteries, skip to the next step but be cautious of how you handle the device.
Drain the Water
Position your laptop in an inverted "V" shape, like an upside-down tent. This allows any excess water to drain out. Ideally, place the laptop on a soft surface, such as a towel, to absorb any dripping liquid. Leave it in this position for at least 24 hours, but longer if you suspect more significant water exposure.
Dry the Interior
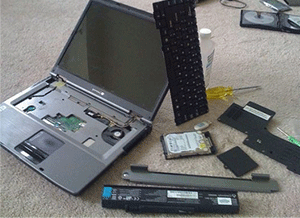
After allowing the water to drain, you may want to take the next step to ensure it dries completely
Open the Laptop
If you're comfortable doing so, open the laptop to expose the internal components. This allows for better airflow and faster drying.
Use Silica Gel
Place silica gel packets around the laptop to absorb moisture. If you don’t have silica gel, you can use uncooked rice, but be cautious as it may leave residue behind.
Wait It Out
Patience is crucial at this stage. Allow your laptop to dry for at least 48 hours. The longer you can wait, the better the chances of preventing corrosion and other damage.
Inspect and Test
After a couple of days, inspect your laptop for any signs of remaining moisture. Look for discoloration or corrosion, particularly around ports and connections. If everything seems dry, attempt to power it on. If it starts up, monitor its performance closely.
Professional Help
If your laptop doesn’t power on or if you notice erratic behavior, it’s time to seek professional assistance. A technician can disassemble your laptop, clean the internal components, and address any damage that might not be visible to you. Remember, water damage can lead to issues later on, even if the device seems to be functioning fine initially.
Backup Your Data
If your laptop does start working again, back up your data immediately. Water damage can cause long-term problems that may result in data loss. Use external drives or cloud services to ensure your files are secure.
Prevention for the Future
To avoid water damage in the future, consider these preventive measures:
Use a Laptop Sleeve
A protective sleeve can help shield your laptop from accidental spills.

Avoid Using Near Water
Try to keep drinks and other liquids away from your workspace.
Invest in a Spill-Resistant Keyboard
If you’re prone to spills, a keyboard cover can provide an extra layer of protection.
Conclusion
Dealing with water damage on your laptop can be a stressful situation, but quick action and careful handling can save your device. By following these steps, you can potentially recover your laptop and prevent future mishaps. Remember, when in doubt, don’t hesitate to seek professional help!
